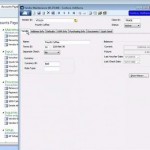
The next tab is Other Options. There is a lot of information you can set up here, starting with the current period at the top, and below that you can define how long you want to retain historical transaction information. Below that you can set up batch and reference numbering. On the right hand side you can set up your aging categories, Past Due and Until Due. These will affect your Accounts Payable reports.
And finally there is a 1099 tab. A new feature here is the ability to set up backup withholding for a 1099 vendor if needed. You can set the system up to automatically withhold a percentage from a 1099 vendor if certain information is not supplied by that vendor, and you can set up what account that withholding goes to.
Next up: How to set up Vendors in the Accounts Payable module.


