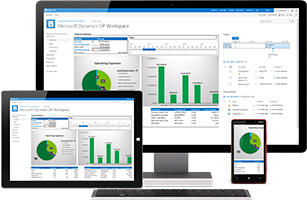
Integration Manager is a tool available with Microsoft Dynamics GP that will help you connect your CRM, Sales, or other application with Great Plains. You can start with simple integrations using tab-delimited text files as data sources and Microsoft GP as the destination. You can also create more complicated integrations using databases or multiple sources. To process an integration, you’ll also need a source adapter to filter and extract data and a destination adapter to validate the data before integrating it into the destination.
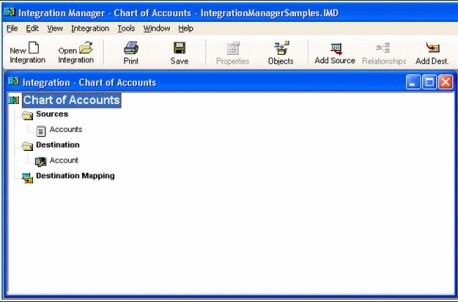
All integration tasks are performed from the main workspace. After you install Integration Manager, the steps for creating a simple integration are:
- Open a new integration by choosing ‘New Integration’ from the file menu. Fill in the name and description. Make sure you pick a name that will help you easily remember the purpose of the integration. Save the integration.
- Add a source with name and description. Note you must first install a source adapter for any source type you plan to use.
- Add a destination. As with sources, you must have a destination adapter installed for each type of destination you plan to use. In the case of Microsoft Dynamics GP, two common ones are:
- Microsoft Dynamics GP destination adapter which has pre-defined destinations for Financial, Sales Order Processing, Payroll, Inventory, Payables Management, Receivables Management, and Setup
- Microsoft Dynamics GP eConnect Destination adapter which has pre-defined destinations for GL Account, Shipping Method, GL Transaction, Order Entry, Purchasing, Inventory Transaction, Customer, Inventory Item, Purchasing Order Entry, Receivings Transaction Entry, and Sales Transaction
- Map the source data to the destination. Create a set of rules that define where the information for a destination item originates. Some rules are built into Integration Manager.
After you’ve completed the above steps, you’re ready to run the integration and verify the results.


