Although it is an incredibly deep and powerful business management solution, Microsoft Dynamics GP is surprisingly easy to learn and to use. One aspect to this ease of use is how relatively simple it is to set up and manage your vendors in Microsoft Dynamics GP. And this streamlined setup and management also gives you increased accuracy and consistency.
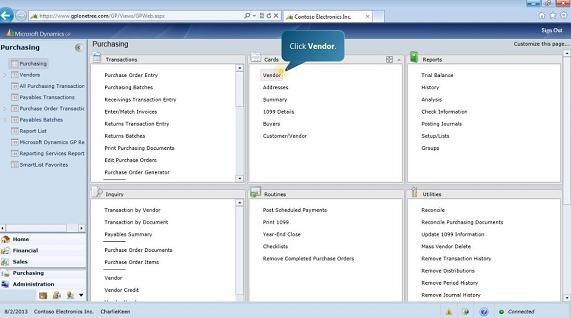
With Microsoft Dynamics GP, you can set up a new master vendor record in just a few simple steps. To start, just click “Vendor” under “Cards.” The Vendor Maintenance screen opens, and here you enter unique vendor details into fields such as Vendor ID, Name, and Check Name. Then there is the Class ID field.
Since most master records include a combination of standard and unique data fields, the Class ID feature saves you a lot of time. It enables you to define and apply standard data values to all master records for a given vendor class. You set this up in the Vendor Class Setup screen. Click the Accounts button in this window, and the Vendor Class Accounts Setup screen opens. This screen enables you to map the specific General Ledger accounts to be used for the class, ensuring consistent posting to the appropriate accounts.
When you apply a Vendor Class ID in the Vendor Maintenance screen, default information automatically populates several fields in the screen, such as Tax Schedule, Shipping Method, and UPS Zone. You’ll also have the option to apply the same standard data defaults to all existing records that use the class.


