In our last couple of Microsoft Dynamics GP blog entries, we have covered the basic setup of a requisition workflow and the creation of steps for that workflow. Now let’s take a look at how requisition and purchase order processing workflows work in Microsoft Dynamics GP.
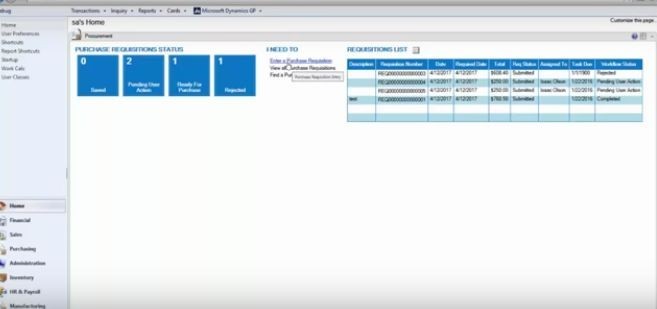
There are several places within Microsoft Dynamics GP where you can enter requisitions. The easiest is under the Procurement tile on the Home page. Just click the “Enter a Purchase Requisition” link. On the left, you can see your requisitions that are “Saved,” “Pending Other Action,” “Ready For Purchase,” and “Rejected.” You can also see details on all of your requisitions in a list on the right. Another way to enter a requisition is to go to the Purchasing module, and under the “Transactions” heading, click “Purchase Requisitions.”
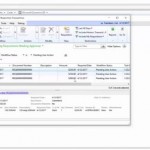
When you open the Purchase Requisition Entry window, you just fill in the fields for your requisition, such as a description and the Vendor ID. You can click the Save button at the upper left to save your requisition if you want to come back and edit it later, or you can click the Submit button to submit it for approval. You’ll have a chance to add comments, then you’ll click Submit again. When you’ve submitted a requisition, your requisition list will not automatically refresh. You’ll have to click the Refresh button to see it. If you do, it will appear in your requisitions list, and you will see that it is pending approval.


