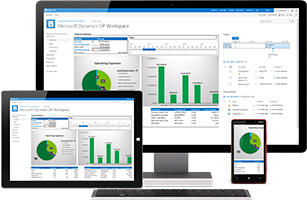
The new web apps for Microsoft Dynamics SL give your staff browser-based access to view and enter data into the solution through a tablet, smartphone, or desktop machine. Users can do things like record time and travel expenses, approve expenses and invoices, adjust budgets, and request items, and they can do so anytime, anywhere. The apps are intuitive and easy to use, and the interfaces are built to scale to the size of the device being used.
To deploy the new web apps, you’ll first need to deploy Microsoft Dynamics SL Web Services. You can overwrite an existing site, or select a new site in the Microsoft Dynamics SL Web Services Configuration Console. Click “Verify” to ensure that it was deployed correctly. Note the URL for deploying the web apps.
You’ll need to select a site for your web apps and a folder location. In the Microsoft Dynamics SL 2015 Web Apps Configuration Console, you’ll put your Web Services URL into the Web Service Location field. Click “Verify” for your web app deployment, just as you did for your Web Services deployment. Deployed! Pretty easy. Now you’ll need to assign access rights.
Before assigning access rights, you’ll need to run a couple of SQL scripts, Sys and App, located in the Delivery folder of the build. Run the App script for each app database you have. Now you can grant access rights. In the Access Rights Maintenance screen, select Web Apps, and grant access to everyone, everyone in a group, or to one person at a time. You can grant access for viewing, updating, inserting, or deleting for each user.
That’s about it. For more detail, when you’re actually deploying, you’ll want to consult Microsoft’s deployment guide.


