Like the other business management tools in Microsoft Dynamics SL, the Accounts Payable module is easy to set up and easy to use. In our last entry, we looked at the setup options that provide so much flexibility for your unique way of doing business. Today we’ll look at the further setup options provided by some of the maintenance screens, where you set up information that works with the setup options you selected during Accounts Payable setup.
Vendor Setup in the Accounts Payable Module
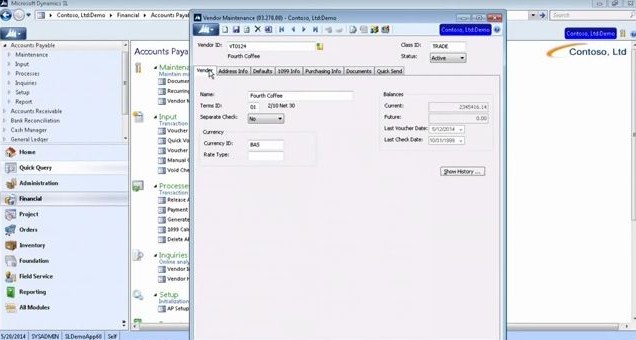
The Vendor Maintenance screen is where it all starts for Accounts Payable. The Vendor ID field is filled in at the top (hit F3 to open a lookup list), as well as the Class ID for the type of vendor. You can have as many class IDs as you want, and they are defined and set up in the Vendor Class Maintenance screen. Below the Vendor ID and Class ID fields on the Vendor Maintenance screen you will find the following tabs:
- Vendor
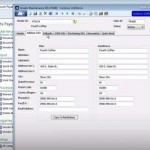
- Address Info
- Defaults
- 1099 Info
- Purchasing Info
- Documents
- Quick Send
The Vendor tab starts with a field for the vendor’s name, and below that is a field for the terms. You can use a lookup list to select an available term that has been defined. You set up your terms in the Term Maintenance screen, where you can decide whether a term will be available just for customers, or just for vendors, or for both.
Back on the Vendor tab for the Vendor Maintenance screen, below the Terms field you can set up the relevant currency for this vendor. On the right hand side, you can view current and future balances for this vendor, as well as the date of the last voucher and check paid to the vendor. A Show History button at the lower right of the screen opens up a detailed history for the vendor.


