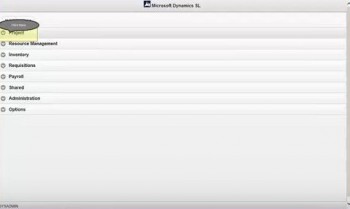
 Today we’re going to take a look at project expense entry in the web apps for Microsoft Dynamics SL. To get started, you select “Project” from your web apps page, opening a list that includes the following options:
- Time Entry
- Expense Entry
- Approvals
- Project Maintenance
- Employee Position/Rate Maintenance
- Employee and Resource Maintenance
- Project Analyst
Naturally, if you are wanting to enter a project expense, you select “Expense Entry” from that list, opening the Project Expense window. Click the “New row” button at the lower right, and just as promised, you’ll get a new row for entering the expense. You can enter an expense type in the “Exp Type” column. Click the magnifying glass icon in that column to open a list of expense types to choose from. You can do the same when entering the project into the Project column or the task into the Task column. Fill in the Units and Rate fields, and the total will be automatically calculated for you.
Click the Notes/Attach button at the bottom of the window to add notes or attachments. One nice feature is that you can take a picture of a receipt, for example, with your smartphone, then attach it directly to the expense entry right there from your phone, without downloading the image to your laptop or a PC, or emailing it to yourself. And needless to say, the days of mailing paper receipts to your accounting department are long gone… or should be.