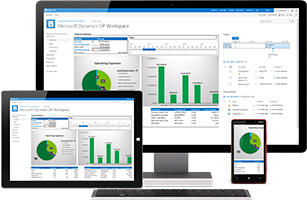
In our last couple of entries, we have been talking about how the Project Maintenance web app for Microsoft Dynamics SL works. The new web apps give your staff browser-based access to view and enter data into Microsoft Dynamics SL through a tablet, smartphone, or desktop machine. Users can record time and travel expenses, approve expenses and invoices, adjust budgets, request items, and more, and they can do so anytime, anywhere. Today we’re going to continue to look at how Project Maintenance works in Web Apps for Microsoft Dynamics SL.
When you open a project in the Project Maintenance web app for Microsoft Dynamics SL, you can enter and edit all sorts of data for the project. If you have SharePoint set up, and you want to create a site for the project, there is a Doc Share section on the left side of the screen, with two buttons: Create/Modify and Go To Site. The first button is for creating or editing the site and the second, of course, is for going to it. Below those buttons are buttons that give you access to your notes, comments, and Help information.
To add a new project to the app, you just click the Add a Project button at the top of the main Project Maintenance page. Fill in the Type and Project fields, or copy a project. Click Accept, and the Project Data page opens for the new project. Here you can fill in a lot of information, but all that is required is the GL Subaccount field. Click Save, and then you can similarly add information to the other pages, such as Account Data, Project Task, Project Maximums, etc.


