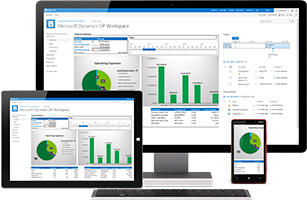
In our last entry, we were talking about how the Project Maintenance web app for Microsoft Dynamics SL works. The new web apps give your staff browser-based access to view and enter data into Microsoft Dynamics SL through a tablet, smartphone, or desktop machine. Users can record time and travel expenses, approve expenses and invoices, adjust budgets, request items, and more, and they can do so anytime, anywhere. Today we’re going to continue to look at how Project Maintenance works in Web Apps for Microsoft Dynamics SL.
When you open a project in the Project Maintenance web app for Microsoft Dynamics SL, you’ll see a menu on the left with the following pages listed for the project:
- Project Data
- Account Data
- Additional Info
- Project Task
- Project Team
- Project Maximums
- Project Addresses
We talked a bit about the Project Data page, which is where a project opens, in the last entry. The Account Data page is where you select the project’s revenue recognition type and currency. Buttons give you one-click access to the Billing Information and Revenue Recognition Setup screens. The Additional Info page has user-defined fields that, per the name of the page, can contain additional information. You can also disable sharing of the project’s documents on SharePoint here.
The Project Task page gives you a list of the project’s tasks, and you can open and edit each of them. You can define a separate GL subaccount or a different labor account for a task here. The Project Team page is where you define who can charge to the project. On the Project Maximums page, you can add a task maximum or a project maximum. And the Project Addresses page is, as the title suggests, a place to enter or edit addresses and contact information.


