Detail Line Items in Accounts Payable
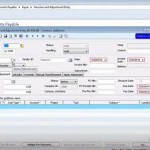
In the Detail line items list, you can fill in as much or as little detail about each item as needed. You can change companies at the line item level, and in the Line Type column you can select whether the item is Invoice, Miscellaneous Charge, or Freight. The account will be defaulted in, but you can change that field. If the vendor is a 1099 vendor, that information will default into the 1099 Box column. You can also choose a tax category and tax ID.
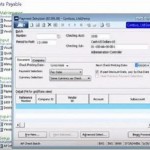
When you’re done with the line items, you can select to release the batch under Handling or save it for a later release. As a new feature, if you select to release the batch, a prompt will ask if you want to add another document, or if you are sure that you are finished with this batch.
Setting Up Recurring Vendor Payments
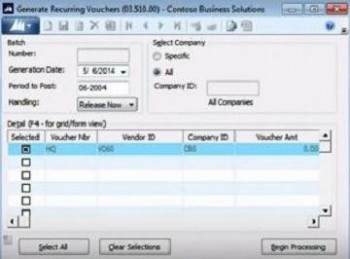
If you have a vendor to whom you make recurring payments, you can set that up with the Recurring Voucher Maintenance screen. In this screen, select the Cycle (period) and Number of Cycles for which you will be making this payment, and fill in the due date and pay date. The Generate Recurring Vouchers screen enables you to view a list of available recurring batches that you have set up, and you can select one or more, then click the Begin Processing button to generate the selected recurring vouchers.


