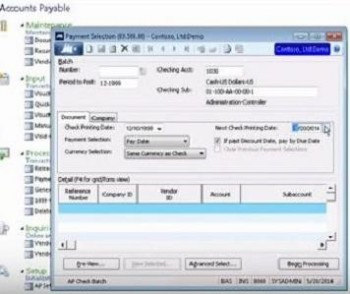
In our last few entries, we’ve looked at the setup options for the Accounts Payable module for Microsoft Dynamics SL that offer so much flexibility for your unique way of doing business, and we’ve covered entering a payment with the Voucher and Adjustment Entry screen. Now let’s talk about using the Payment Selection screen to select the payments to be made and to get started on actually printing the checks.
Payment Selection and Check Printing in Dynamics SL

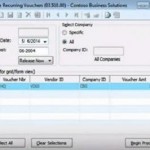
When you click the Begin Processing button, the system will find payments that need to be made. Click the Preview button to preview them. You can also click the View Selected button to look at the payments, but in this screen you can delete an item, and while the voucher will remain in the system, the payment will not be made for it with this batch.
Next you can run a check preview to look at the total amounts if all the checks in a batch are printed. This enables you to know if you can cover all these payments at this time. The Check Preview is a report, and it is naturally found in Accounts Payable under the Report heading. The Checks report enables you to select a batch number and a next check number, and to go ahead and print out your checks.


